☑️Integration Checklist
Double-check your integration with this checklist. These key components will help ensure a seamless Immersive ads SDK integration, minimizing errors before your app goes live.
Basic Checks:
1. Replace the PubScale Placeholder
It is important that you replace the PubScale placeholder with your game’s assets, which is displayed when there's no ad available.

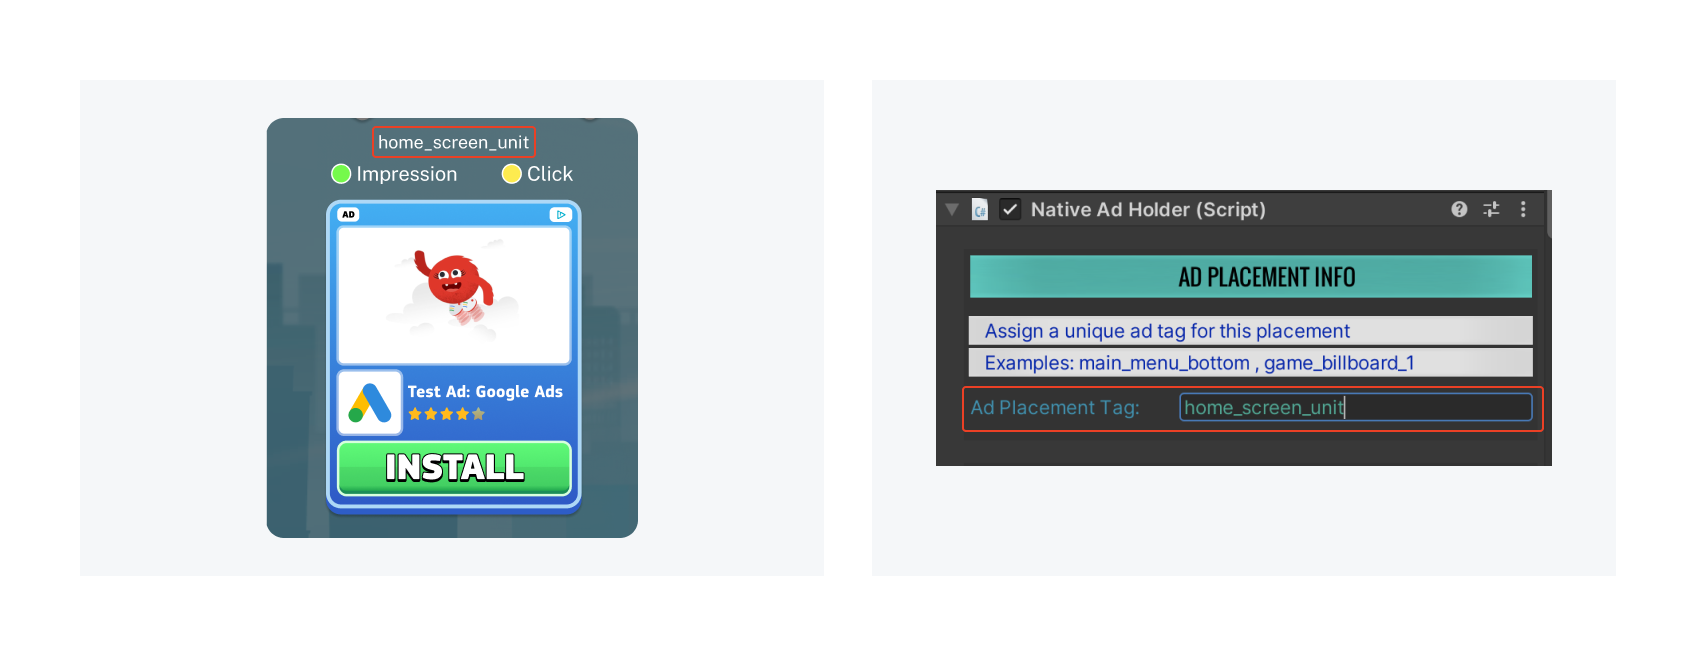
2. Assign Unique Ad Tag for Ad Units
Ensure each ad unit has a unique Ad Tag assigned. Example: Home_Screen_Unit or level_fail_ad_unit. This allows us to analyze the performance of each ad unit for further optimization.

Visual Checks:
1. Avoid Ad Unit Overlap with Screen Elements
Ensure ad units do not overlap with other on-screen elements.

Functional Checks:
1. Ensure Impressions and Clicks are registered
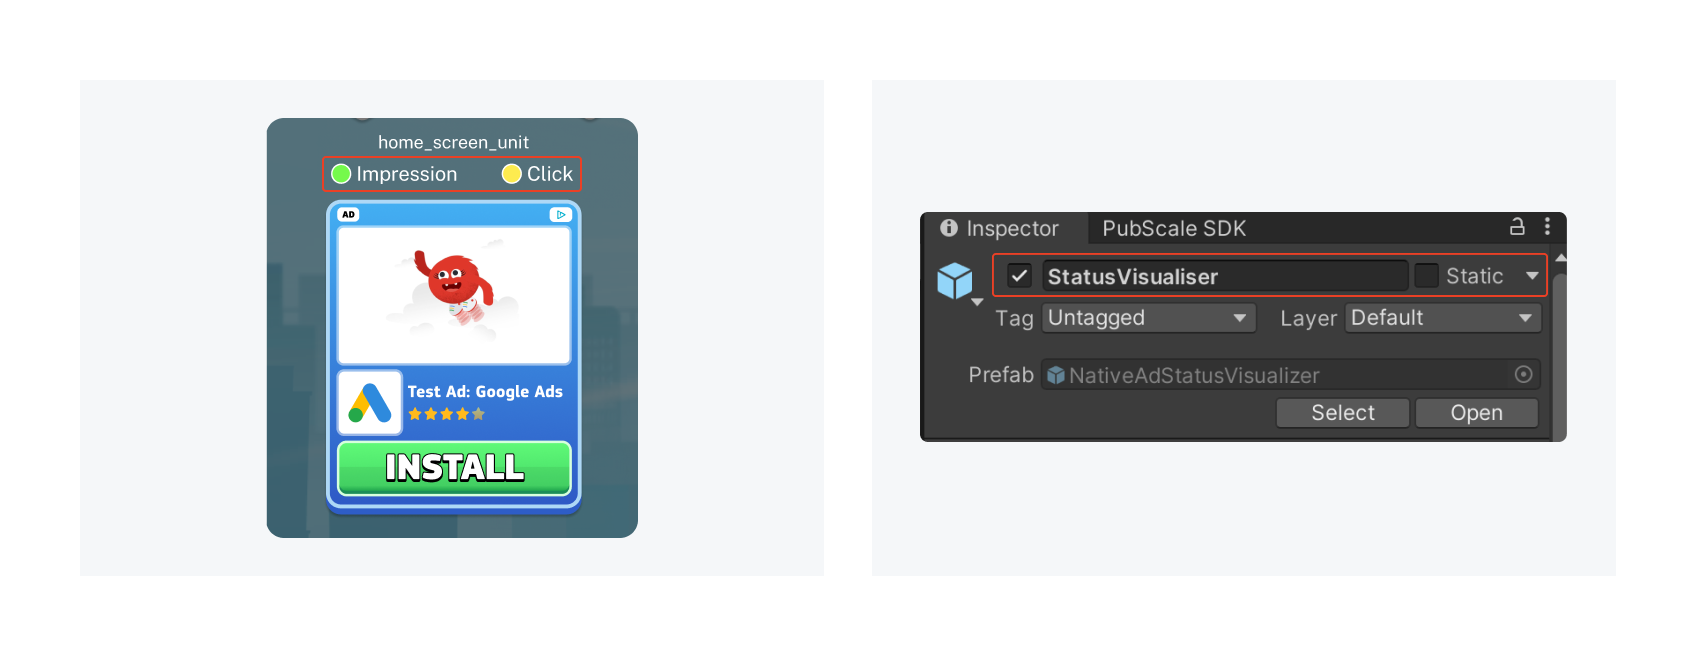
Build the application to an actual device. Verify if the impression indicator turns green when the ad is in the camera view and if the click indicator turns green when you tap on the ad.
If the Impression indicator is not green, find the fix here.
If the Click indicator is not green, find the fix here.

2. Disable Ad unit During Popups and Overlays
Ensure that when a popup or overlay appears over an ad unit, the background ad unit is disabled to prevent accidental clicks, avoiding potential policy issues due to high CTR.
To disable the ad, call HideAd() on nativeAdHolder, and to enable it again use UnHideAd()
Ensure the ad unit is disabled even when it's completely hidden by the overlay.

3. Enable Status Visualizer:
Before sending a build to our QA for testing, ensure the Status Visualizer is enabled.
You don't need to disable it; it will be automatically hidden when Test Mode is disabled in PubScale Settings.

4. Ad Request Management:
To Allow Subsequent Ad Requests:
This is to be done only if your ad is placed on panels or pop-ups
If your ad is placed on panels or popups, disable AutoFetch() and manually call FetchAd() only when the UI panel or overlay is active.
When fetching an ad manually, include a counter. If it has been over 15 seconds since the last ad impression, fetch a new one; otherwise, continue showing the current ad.
Subscribing to Event_OnAdLoaded on NativeAdHolder records the last ad load time. This prevents multiple ad requests, especially during frequent panel openings and closings.
Avoid Ad Unit Triggering Multiple Requests:
To address this issue, ensure that AutoFetch() is disabled whenever FetchAd() is called manually.
5. Rollout with A/B Test

If you plan to roll out with an A/B test where ads are shown to some of the users while others don't see them, make sure to follow the steps below:
The first step would be to remove the PubScaleManager prefab from the first scene
Once a response is received from the A/B test service (such as Firebase Remote config)
If the user is to be shown ads, you can instantiate PubScaleManager like any GameObject or it can also be loaded from the Resources folder
Once the PubScaleManager is instantiated, it will begin Caching Ads
In addition to the above, the default state of all Native ad Game Objects needs to be Disabled. Otherwise, when the native ad object requests an ad, the PubScaleManager will get dynamically instantiated (lazy loaded) and begin caching ads.
The main goal is to prevent the PubScaleManager from being loaded for users who are not supposed to see ads. If active, it will cache ads that will not get shown, impacting Show Rate negatively driving down ecpm.
Doing the above steps (2) and (3) ensures the A/B test happens correctly.